
- Home
- Design Guidelines
Artwork help
Design Guidelines
Everything you need to prepare print-ready artwork for your custom boxes — so your packaging prints sharp, on colour and on time.
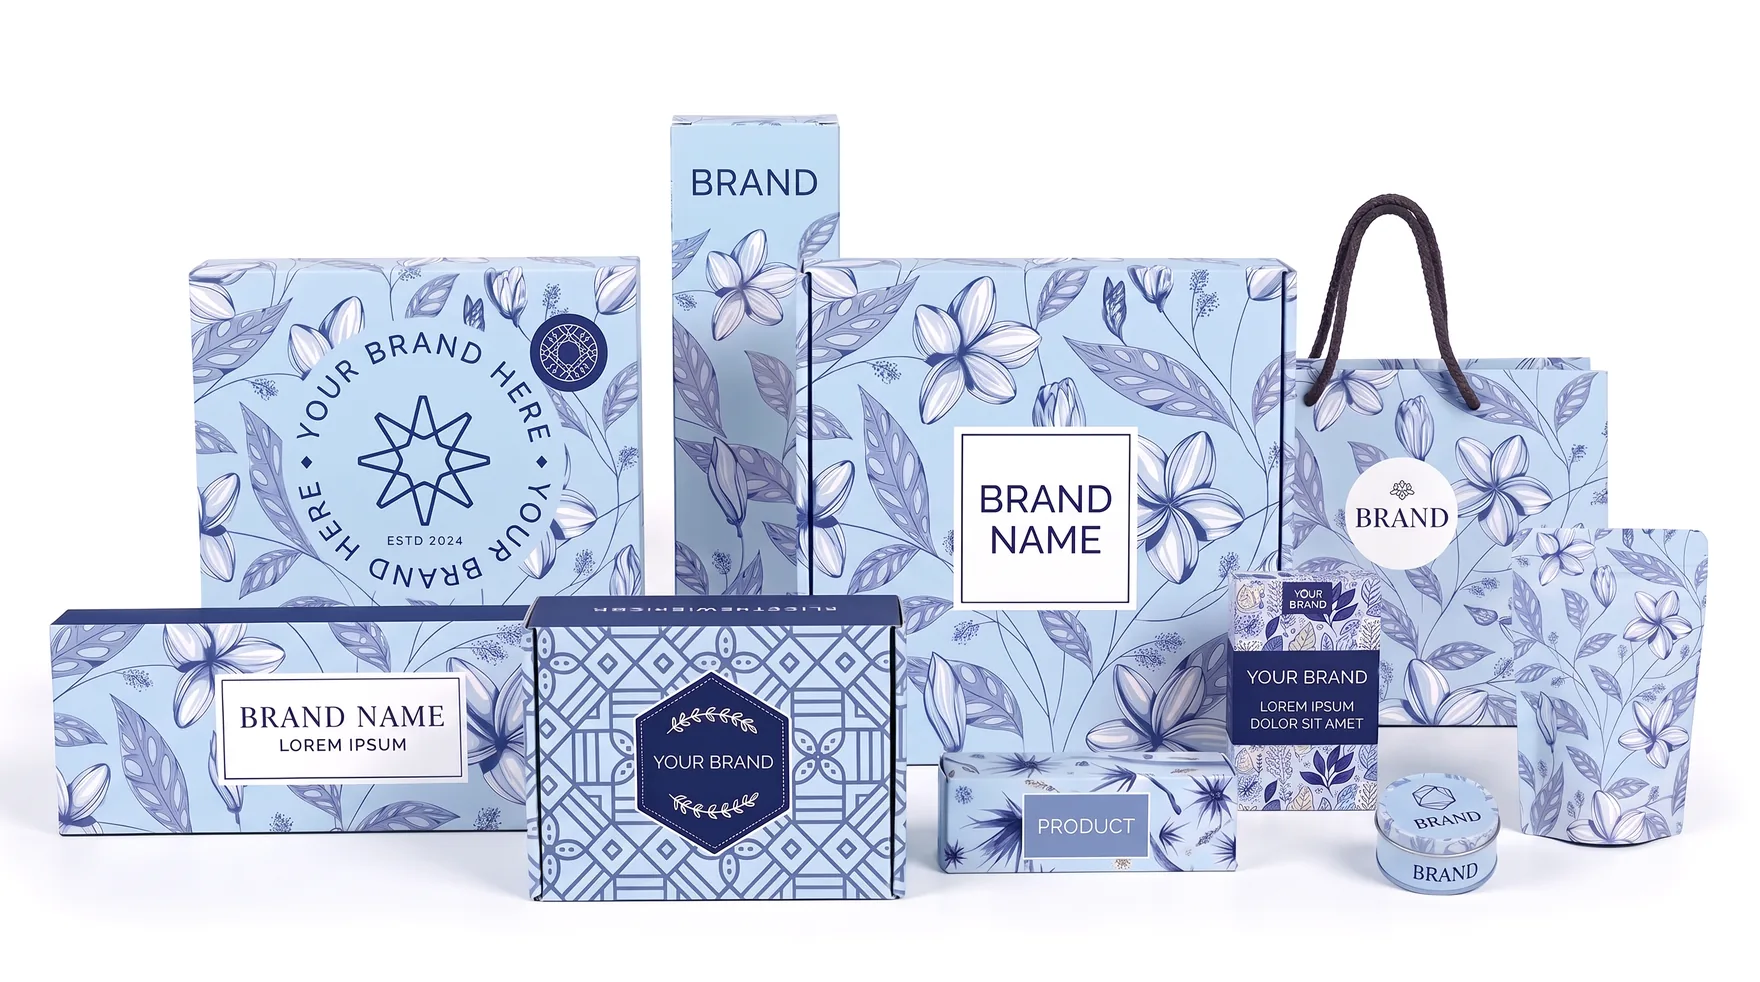
The print-ready artwork guide
A short PDF that walks you through every step of setting up box artwork. Keep it open while you design.
- How to use a dieline
- Bleed, trim and safe zone
- CMYK colour and Pantone
- 300 DPI images
- Fonts and outlines
- Barcodes and small text
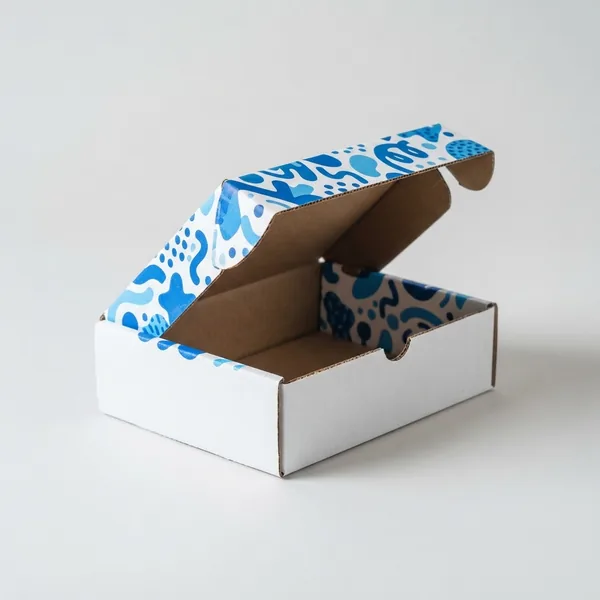 8 steps · Free download
Before you send
Artwork checklist
Tick each item as you go. Your progress is saved on this device.
0 of 8 done
The basics
Three things every file needs
Get these right and most print problems never happen.
File formats
Send vector files: AI, PDF or EPS with fonts outlined. Keep logos and text as vectors so edges print crisp at any size.
Colour
Design in CMYK. Use Pantone (PMS) codes for brand colours that must match, and rich black (60/40/40/100) for large dark areas.
Resolution
Photos and textures must be 300 DPI at the final print size. Images taken from websites are usually 72 DPI and print blurry.
Design offline
Prefer your own design software?
Work in Illustrator, InDesign or any tool you like. Here is how it works with us.
- Get your free dielineTell us your box style and size and we email the template.
- Place your artworkFollow the bleed, safe zone and colour rules in this guide.
- Upload and approveWe check your file for free and send a 3D proof before printing.
Questions
Design FAQs
Adobe Illustrator (AI), PDF (print-ready, with fonts outlined) and EPS work best. We can also accept high-resolution PSD, TIFF or PNG files for photo-based designs.
Yes. After you share your box style and size, we send a free dieline that shows the cut lines, folds, bleed and glue areas. Place your artwork on that file.
Bleed is the extra artwork that runs past the cut line, usually 1/8" (3 mm). It stops thin white edges from showing if the cut moves slightly during production.
Screens show colour in RGB light, while printers use CMYK ink. Design in CMYK from the start, and use Pantone (PMS) codes for brand colours that must match exactly.
Yes. Our design team helps for free: send your logo and ideas and we prepare the artwork on the dieline, then share a 3D proof for your approval.
Always. We send a digital proof (and a 3D mockup) for every order. Nothing is printed until you approve it in writing.
Join our newsletter for packaging tips and member-only offers.
Don’t miss out — get 15% off your first order when you join the newsletter.